Delicious ninja creami recipes
Description
ninja creami recipes
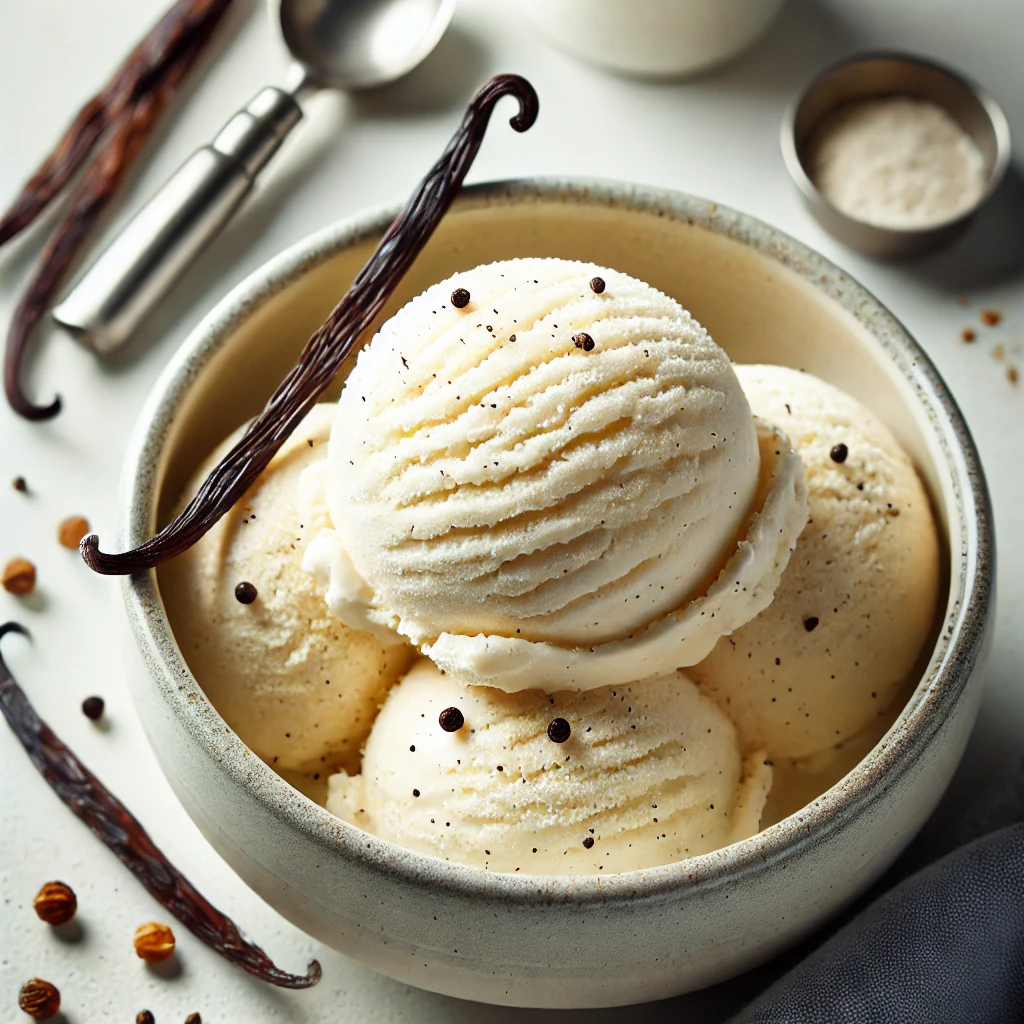
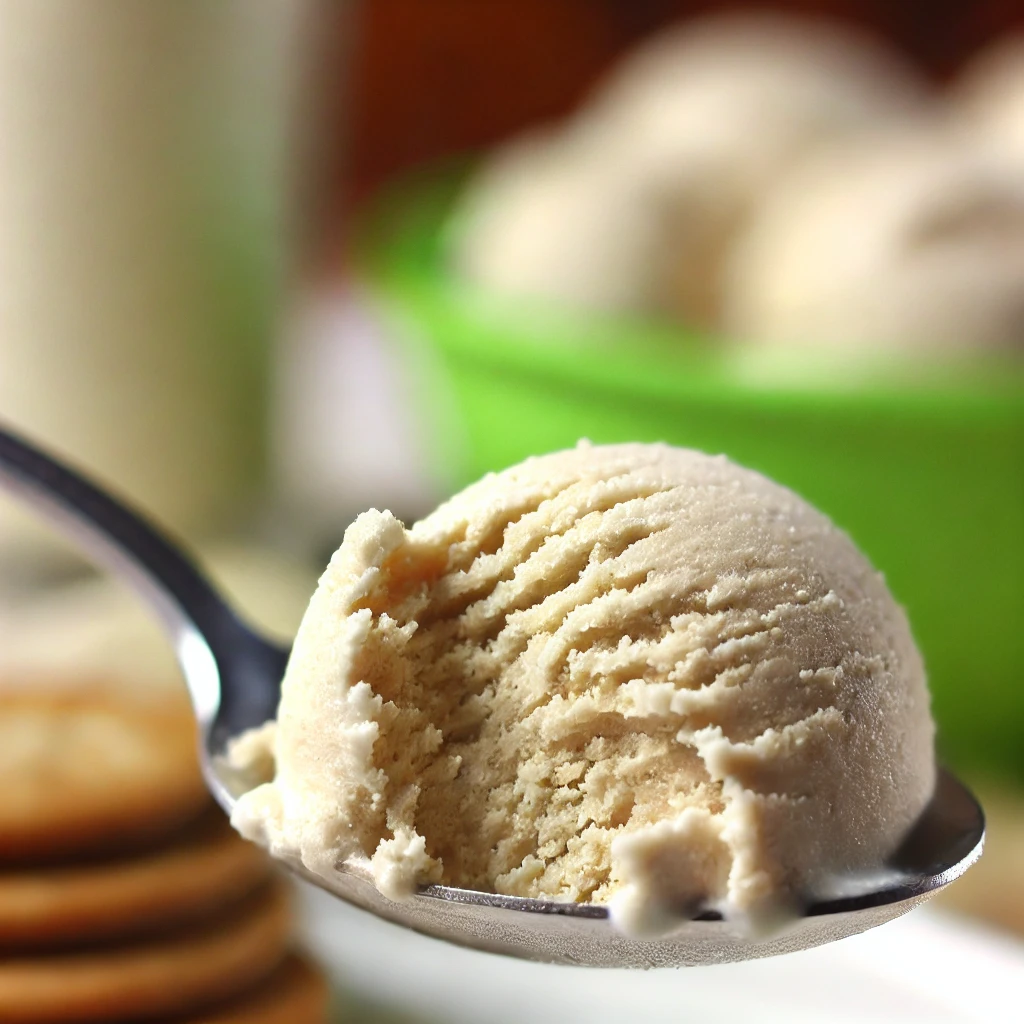
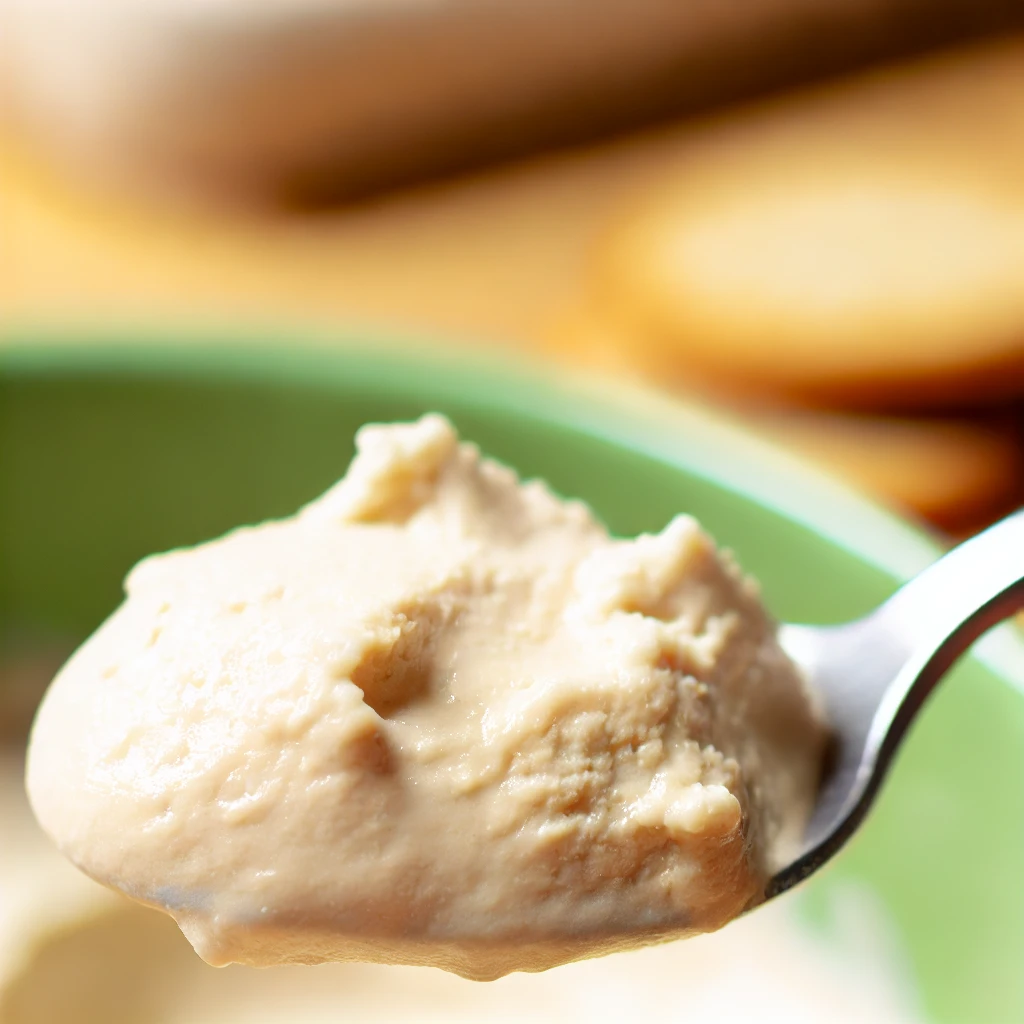
Experience the ultimate indulgence with this homemade vanilla bean ice cream, crafted to perfection using the Ninja Creami. The rich, creamy texture combined with the natural flavor of real vanilla beans creates a dessert that's both luxurious and satisfying.
This recipe is simple to make yet delivers a gourmet-level treat, perfect for any occasion. Whether you enjoy it on its own or as a complement to your favorite desserts, this ice cream is sure to impress. With just a few ingredients and easy steps, you can whip up a batch that will rival any store-bought option.
Elevate your dessert game with this deliciously smooth and authentic vanilla ice cream!
Main Equipment:
This specialized ice cream maker is essential for achieving the smooth, creamy texture in this recipe. It processes frozen ingredients into a rich and luscious ice cream with the press of a button, ensuring that every batch comes out perfect
Used to combine the milk, cream, sugar, and vanilla before freezing.
Pint Container::View on Amazon
A freezer-safe container that comes with the Ninja Creami, used to hold the mixture as it freezes.
Spoon or Spatula: :View on Amazon
For stirring the ingredients and serving the finished ice cream.
Related
Ingredients
Instructions
Prepare the Vanilla Bean: If using a vanilla bean, slice it open lengthwise and scrape out the seeds. Combine the vanilla seeds with the sugar to infuse the flavor.
Mix Ingredients: In a mixing bowl, combine the whole milk, heavy cream, sugar (with vanilla seeds if using a bean), and salt. Stir until the sugar is fully dissolved. If using vanilla extract, add it at this point.
Transfer to Freezer Tub: Pour the mixture into the Ninja Creami pint container. Place the lid on and freeze the pint container in a level position for 24 hours.
Process with Ninja Creami: After freezing, remove the container from the freezer. Install the Creami blade into the unit, place the container inside, and lock the lid. Press the "Ice Cream" button to start the creami process.
Check Consistency: Once the cycle is complete, check the consistency. If needed, run the “Re-mix” cycle to make it smoother. If you want to add mix-ins like chocolate chips or fruit, use the “Mix-In” button.
Serve and Enjoy: Scoop out the creamy vanilla bean ice cream and serve immediately or store in the freezer for later use.
Servings 4
- Amount Per Serving
- Calories 290kcal
- % Daily Value *
- Total Fat 22g34%
- Saturated Fat 13g65%
- Cholesterol 80mg27%
- Sodium 60mg3%
- Total Carbohydrate 21g8%
- Sugars 20g
- Protein 3g6%
* Percent Daily Values are based on a 2,000 calorie diet. Your daily value may be higher or lower depending on your calorie needs.
Note
Tips:
- Use Vanilla Beans: For the most intense vanilla flavor, use a vanilla bean instead of extract.
- Adjust Sweetness: If you prefer a sweeter or less sweet ice cream, adjust the amount of sugar to taste.
- Freeze Properly: Make sure the pint container is completely frozen before processing to ensure the right texture.
- Optional Mix-ins: Consider adding chocolate chips, nuts, or fruit after processing for added texture.
Handpicked Recipes


(ninja creami recipes ninja creami recipes ninja creami recipes ninja creami recipes)

